Windows
If you select a newly generated server monitoring project, the Agent Installation screen appears. It is also possible in Management > Agent Installation for the project.
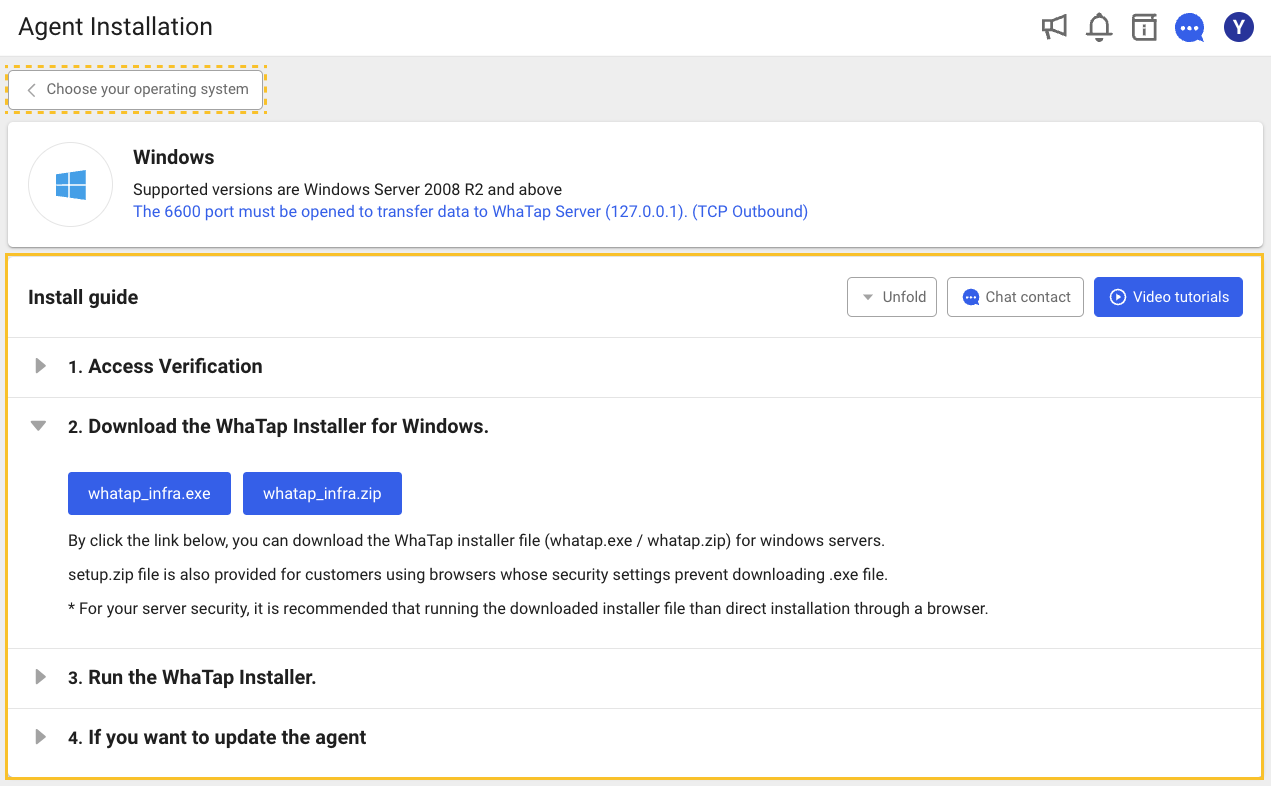
After selecting Windows on the operating system selection screen in Agent Installation and confirming the project access key, proceed with the installation according to the following instructions.
-
Download the agent file.
In the Download the WhaTap Installer for Windows tab, select whatap_infra.exe or whatap_infra.zip to download the agent installation file.
Note- The .zip file is also provided for the users who cannot accept .exe files due to security issues.
- For server security, it is recommended to run the downloaded installation file rather than installing through the browser.
-
Access the server to be monitored and then upload the agent file.
-
Double-click the downloaded installation file to run it.
-
 Go to Run the WhaTap Installer tab and then check the granted project access key and server IP.
 -
According to the on-screen instructions, enter the project access key in License Key and the IP address of the WhaTap server in WhatTap IP.

-
Click Next.
-
In the following screen, click Install. Proceed with the installation.
-
Click Finish to finish the installation.
Server agent installation file configuration
-
Common files
-
ChangeLog.txt: Agent's revision history
-
whatap.conf: In this file, the address of the server to collect data and the server's project access key are entered.
-
-
Windows
-
whatap_infrad.exe: Agent that collects and transmits data.
-
unins000.: File to delete any agent
-
whatap.ico: Image of the WhaTap infrastructure icon.
-