Linux
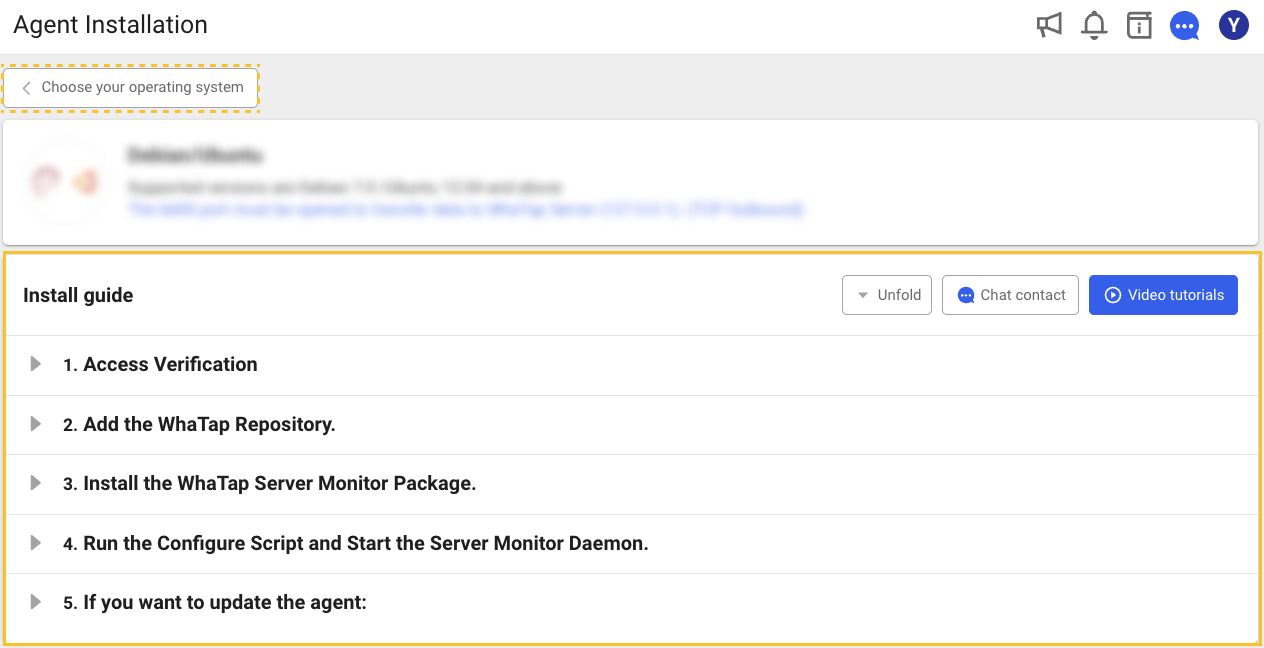
If you select a newly generated server monitoring project, the Agent Installation screen appears. It is also possible in Management > Agent Installation for the project.

Select a desired OS on the Agent Installation screen, check the project access key, and then proceed with the installation according to the following instructions.
-
Register the WhaTap repository.
In the Add the WhaTap Repository tab, copy the command and enter it.
- Debian / Ubuntu
- SUSE
- CentOS
- Amazon Linux
curl -s https://repo.whatap.io/debian/release.gpg | gpg --dearmor | sudo tee /etc/apt/trusted.gpg.d/whatap-release.gpg > /dev/null
echo "deb [signed-by=/etc/apt/trusted.gpg.d/whatap-release.gpg] https://repo.whatap.io/debian unstable/" | sudo tee /etc/apt/sources.list.d/whatap.list
sudo apt-get update
sudo rpm --import http://repo.whatap.io/suse/release.gpg
echo "[whatap]" | sudo tee /etc/zypp/repos.d/whatap.repo > /dev/null
echo "name=whatap packages for enterprise linux" | sudo tee -a /etc/zypp/repos.d/whatap.repo > /dev/null
echo "baseurl=http://repo.whatap.io/suse/12/x86_64" | sudo tee -a /etc/zypp/repos.d/whatap.repo > /dev/null
echo "enabled=1" | sudo tee -a /etc/zypp/repos.d/whatap.repo > /dev/null
echo "gpgcheck=1" | sudo tee -a /etc/zypp/repos.d/whatap.repo > /dev/null
sudo zypper refreshsudo rpm --import http://repo.whatap.io/centos/release.gpg
sudo rpm -Uvh http://repo.whatap.io/centos/5/noarch/whatap-repo-1.0-1.noarch.rpmsudo rpm --import http://repo.whatap.io/centos/release.gpg
echo "[whatap]" | sudo tee /etc/yum.repos.d/whatap.repo > /dev/null
echo "name=whatap packages for enterprise linux" | sudo tee -a /etc/yum.repos.d/whatap.repo > /dev/null
echo "baseurl=http://repo.whatap.io/centos/latest/\$basearch" | sudo tee -a /etc/yum.repos.d/whatap.repo > /dev/null
echo "enabled=1" | sudo tee -a /etc/yum.repos.d/whatap.repo > /dev/null
echo "gpgcheck=0" | sudo tee -a /etc/yum.repos.d/whatap.repo > /dev/null -
Install the package with the following command.
In the Install the WhaTap Server Monitor Package tab, copy the command and enter it.
- Debian / Ubuntu
- SUSE
- CentOS / Amazon Linux
sudo apt-get install whatap-infrasudo zypper install whatap-infrasudo yum install whatap-infra -
Run the configuration script.
In the Run the Configure Script and Start the Server Monitor Daemon. tab, get the command or execute the command below after adding the project access key and server IP.
echo "license=[Granted Project Access Key]" |sudo tee /usr/whatap/infra/conf/whatap.conf
echo "whatap.server.host=[Granted WhaTap Server IP]" |sudo tee -a /usr/whatap/infra/conf/whatap.conf
echo "createdtime=`date +%s%N`" |sudo tee -a /usr/whatap/infra/conf/whatap.conf
sudo service whatap-infra restart
Cautions
TCP outbound 6600 PORT must be open for data transmission.
Server agent installation file configuration
-
Common files
-
ChangeLog.txt: Agent's revision history
-
whatap.conf: In this file, the address of the server to collect data and the server's project access key are entered.
-
-
Linux/FreeBSD
-
whatap_infrad: Agent that collects and transmits data.
-
whatap_infrad.pid: File in which the PID of the running agent has been written.
-
VERSION: File in which the versions of the installed agents have been written.
-