Notifications
Home > Select Project > Alert > Notifications
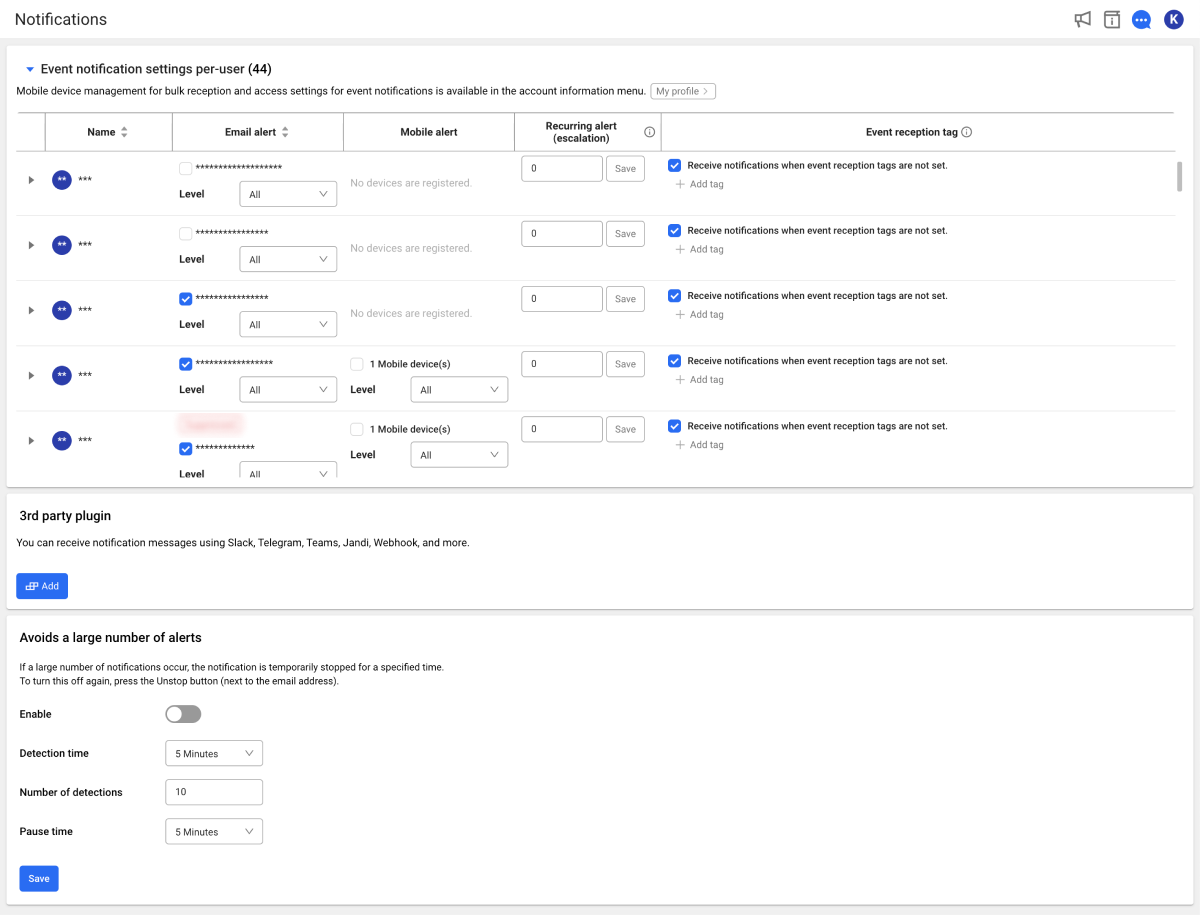
You can set various functions related to reception of alerts by project members.
The information about other members in the Event notification settings per-user section can only be viewed by members with the Member management role. Required information is masked for other members. For more information about member roles, see the following.
Selecting the reception method
You can select email alert or mobile notification. You can receive alerts if a desired reception method is checked. If you uncheck the alert reception method, alert notifications are not sent.
-
The email alert sends notifications to the email address entered for sign up as a member.
-
All users except the project super admin can only change their own reception settings.
-
For URL products, SMS and WhaTsApp notifications are not supported.
Adding to the mobile alert reception
If you need to receive mobile notifications, install the WhaTap application on your mobile device and log in the application.
Selecting the reception level
Depending on the alert level, you can set whether or not to receive alerts. In the user list of the Event notification settings per-user section, select All or Fatal as the Level.
-
All: All alerts can be received.
-
Fatal: Alerts in critical level can be received.
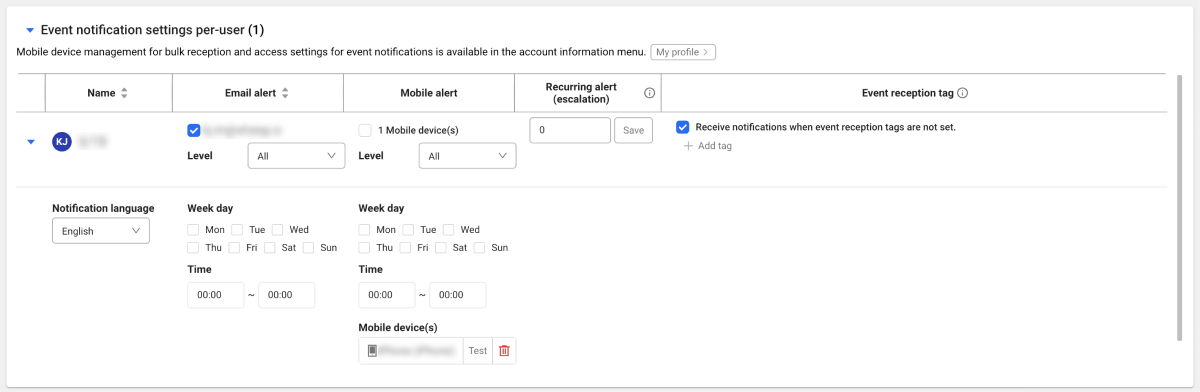
Setting alarms by day of the week and time
You can select whether or not to receive notifications by day of the week or time. In the user list of the Event notification settings per-user section, select ![]() at the utmost left. Select the desired day of the week or select the time to receive alerts. You can set for each notification reception method.
at the utmost left. Select the desired day of the week or select the time to receive alerts. You can set for each notification reception method.
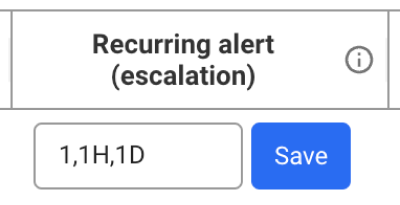
Alert Repetition Setting
If the symptom is not resolved since the alert occurrence time, you can set the notification repetition interval from the initial alert occurrence time. For example, to repeat an alert after 0 minutes (immediately), 1 hour, and 1 day from the alert occurrence time, enter 0,1H,1D in the Recurring alert (escalation) column.
-
This function targets all events for the Critical (or Fatal class). See the Level item set for adding an event.
-
If you omit the unit such as M: Minute, H: Hour, D: Day, you can set the time in minutes.
-
If Save is not selected, configuration cannot be finished.
-
Enter the value in the following format: number or number + unit (M, H, D). If the input is wrong, the corresponding message appears.
Setting notifications by team and user
Set whether or not to receive notifications for specific members or teams among project members. For event settings of Metrics, Anomaly detection, and Log, add tags in Event reception tag. You can select members or teams to receive alerts for each event.
On the contrary, if you do not set any event reception tag, you can send alerts to all members. Let's learn how to send the alerts for each team or user through the event reception tag example. Set different alerts to be sent by team as follows: Setting up receiving events (Alert > Notifications) Among project members, for the members in the server team, set the event reception tag to Metrics Alert Settings (Alert > Event configuration > Metrics > Add Alert Policy > Notifications) Click Add tag or Setting the log real-time alert (Alert > Event configuration > Log > Add Alert Policy > Event reception tag) Click Add tag or Because the anomaly detection event sends alerts to all members, no tag is set to receive the event.Event Receiving Tag Example
Notification types Whether or not to receive by the server team Whether or not to receive by the DevOps team Metrics alert ✅ ❌ Anomaly detection alert ✅ ✅ Log real-time alert ❌ ✅

Sever Team. For the members in the DevOps team, set to DevOps Team.
 . Select a tag from the tag list or create a new tag. This is the case that the notification of metrics events has been set to
 Server Team. . Select a tag from the tag list or create a new tag. This is the case that the notification of log events has been set to
 DevOps Team.
Adding the event reception tag
-
In the user list of the Event notification settings per-user section, select Add tag or
. -
If the Event reception tag pop-up window appears, enter the tag name in the tag field and then press Enter or select Create new tag.
-
Select the tag color.
-
Select Create Tag.
In Tag list, you can see the created tags. To apply any created tag, select the tag.
Disabling the event reception tag
-
In the user list of the Event notification settings per-user section, select
. -
If the Event reception tag pop-up window appears, select
 next to the applied tag.
 -
Close the Event reception tag pop-up window.
Disable the event receiving tag.
Modifying and deleting the event reception tag
-
In the user list of the Event notification settings per-user section, select Add tag or
. -
If the Event reception tag pop-up window appears, select
 of the item to modify or delete in Tag list.
 -
Modify the tag name or change the color and then select Apply.
To delete the tag, select
 Delete Tag.
You cannot delete the Event reception tag item applied to the event.
Receiving notifications when event reception tags are not set
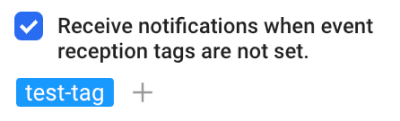
To receive alerts with no Event reception tag setting, select the Receive notifications when event reception tags are not set. option. To receive only the alerts with the Event reception tag setting, uncheck the option.
If you do not want to receive all alerts, uncheck the option and there must be no selected Event reception tag.
Adding the 3rd party plug-in alert
You can receive alerts through external applications such as Slack, Telegram, Teams, Jandi, and Webhooks.
-
In Alert > Notifications, select Add in the 3rd party plugin section.
-
Select a desired service.
-
Proceed with the configuration according to the on-screen instructions for the selected service.
-
After all steps are finished, select Add.
The in-house messengers that are not included in the support scope of WhaTap Labs can be linked through the standard webhook and webhook json.
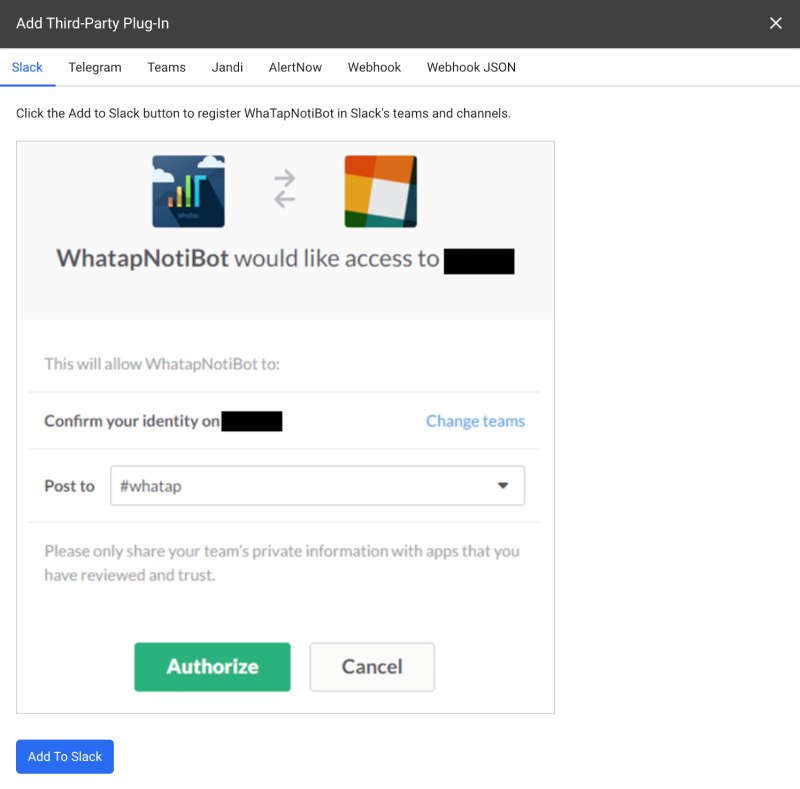
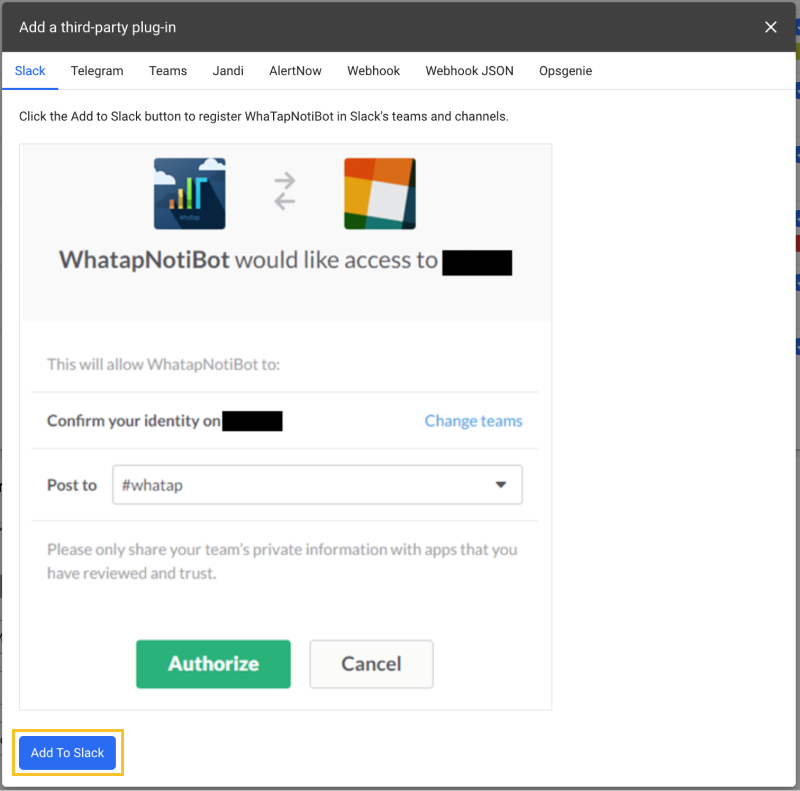
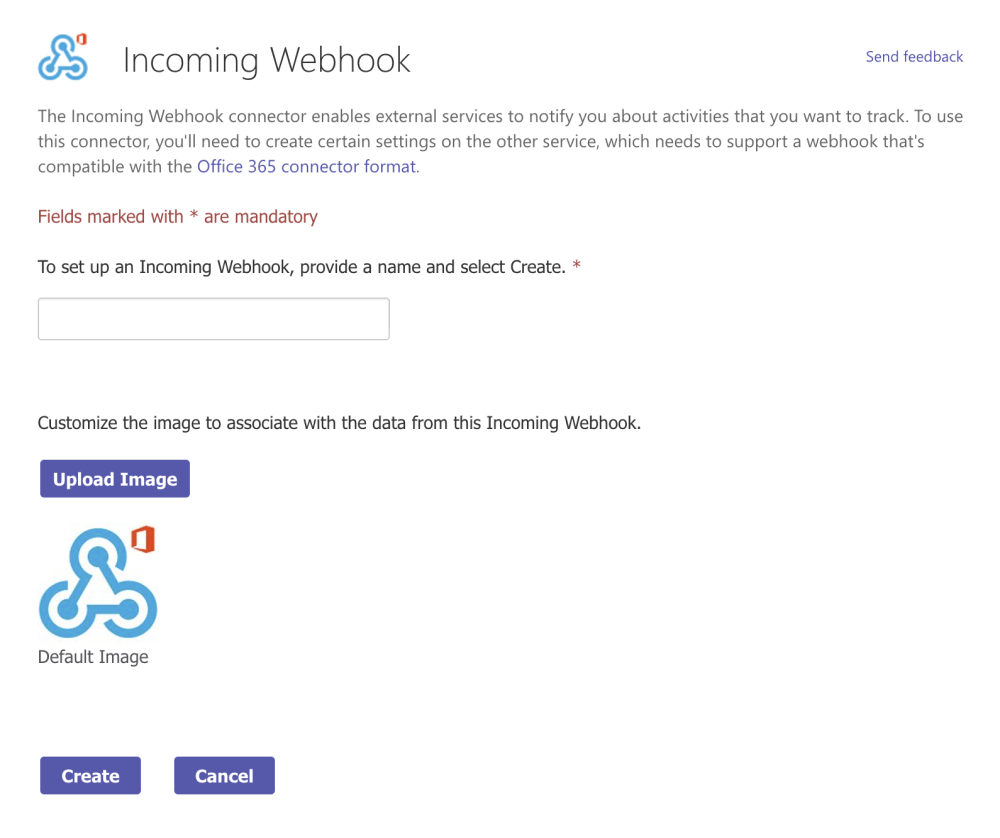
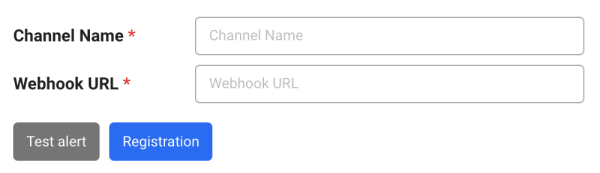
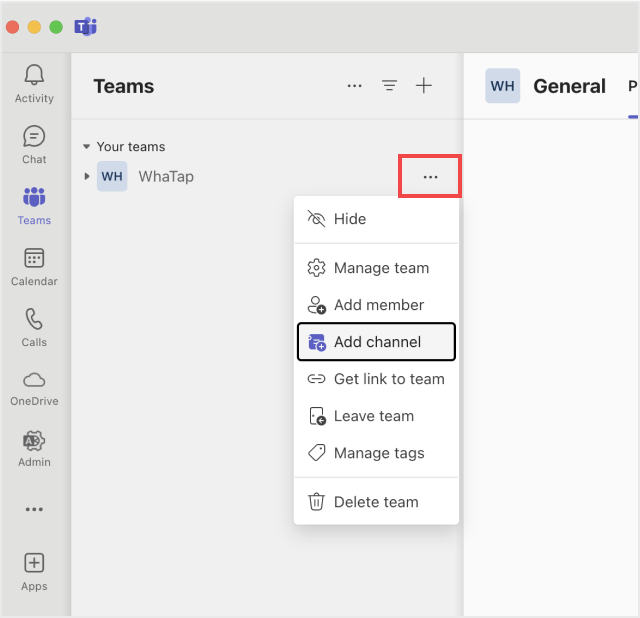
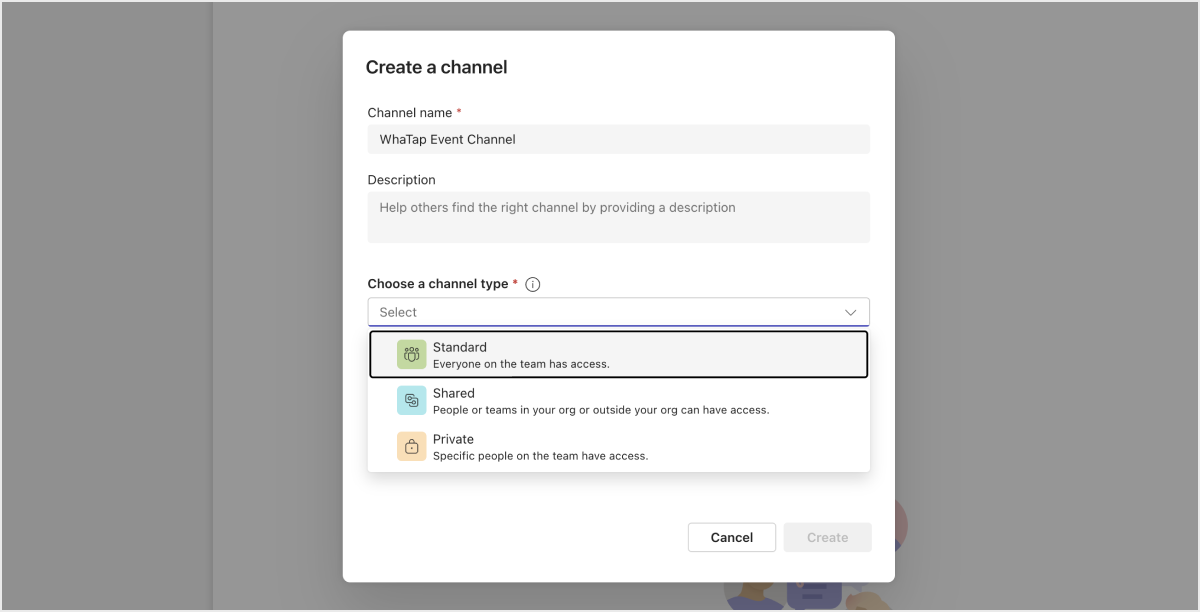
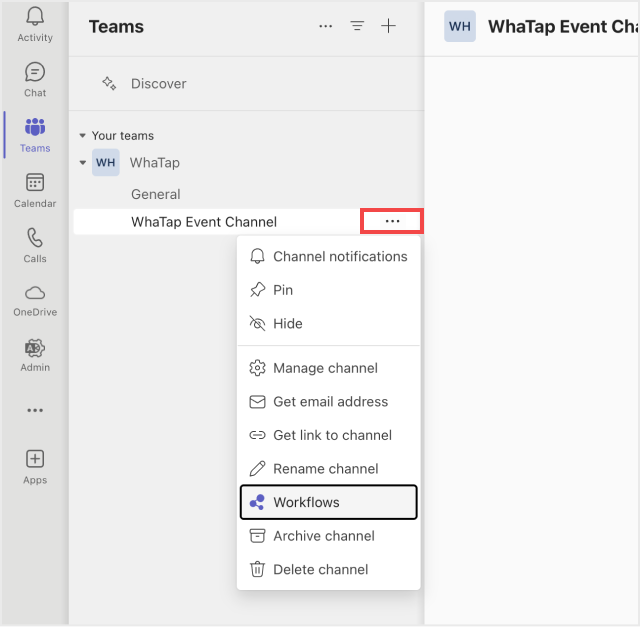
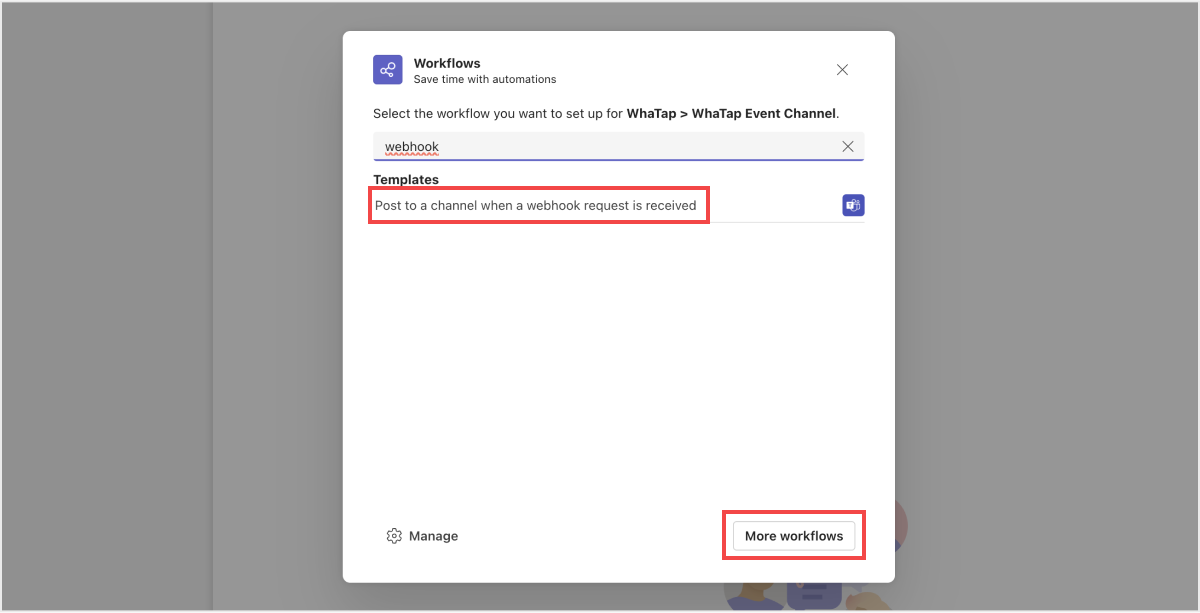
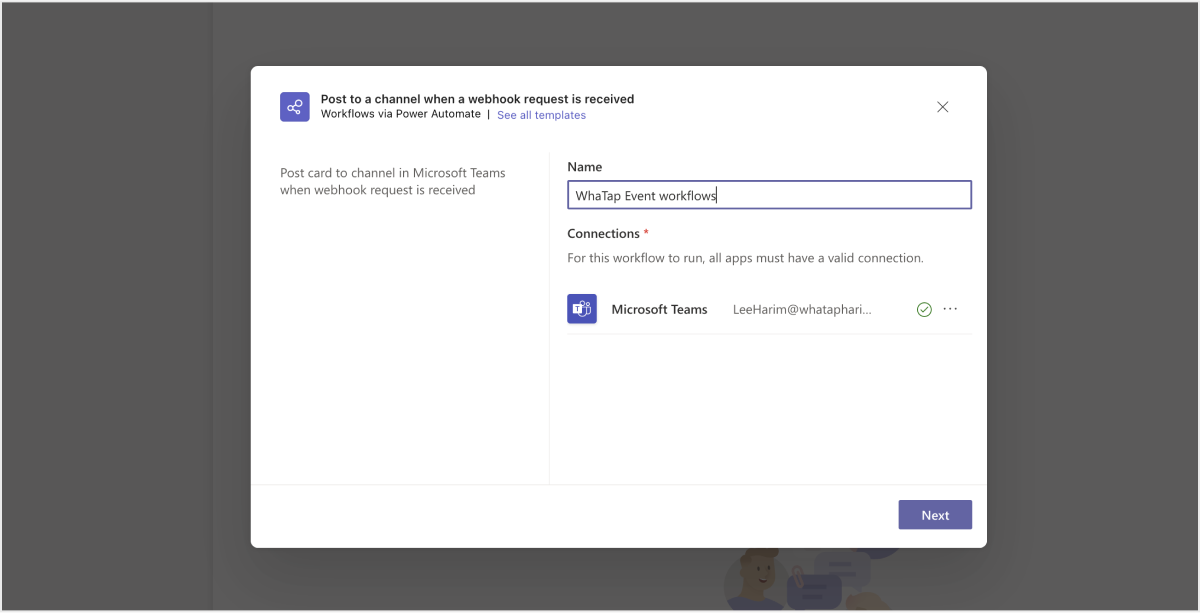
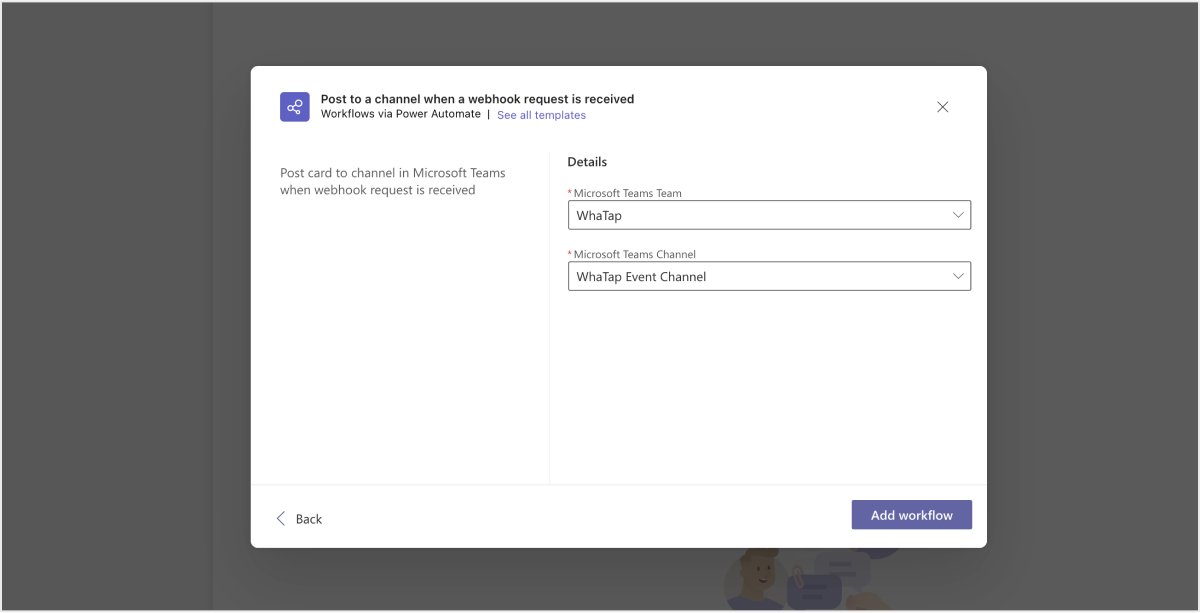
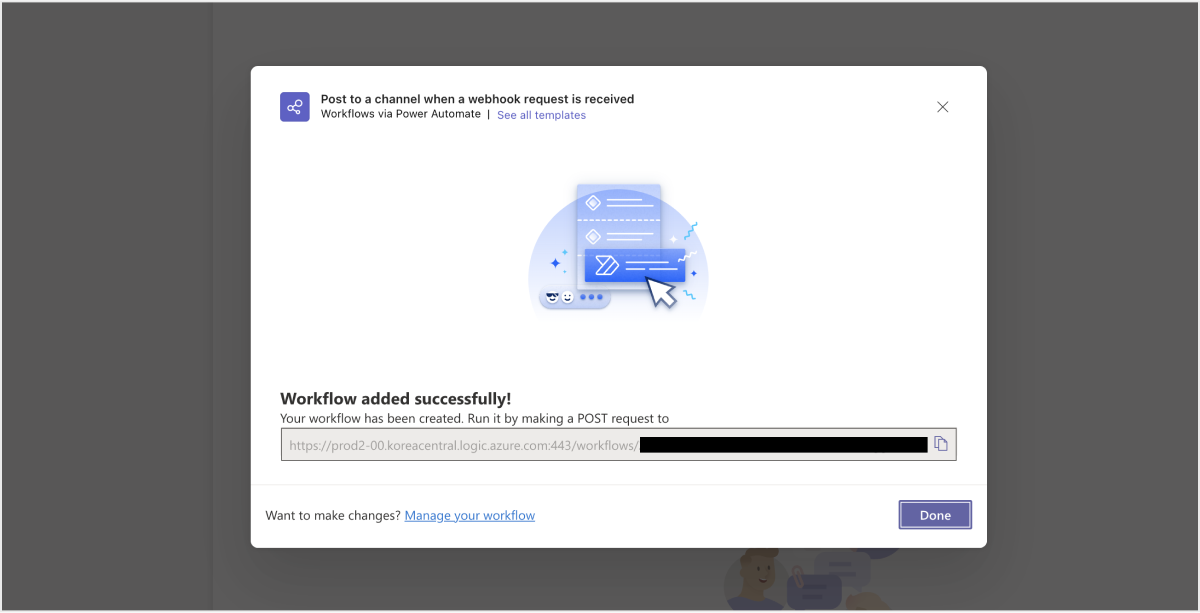
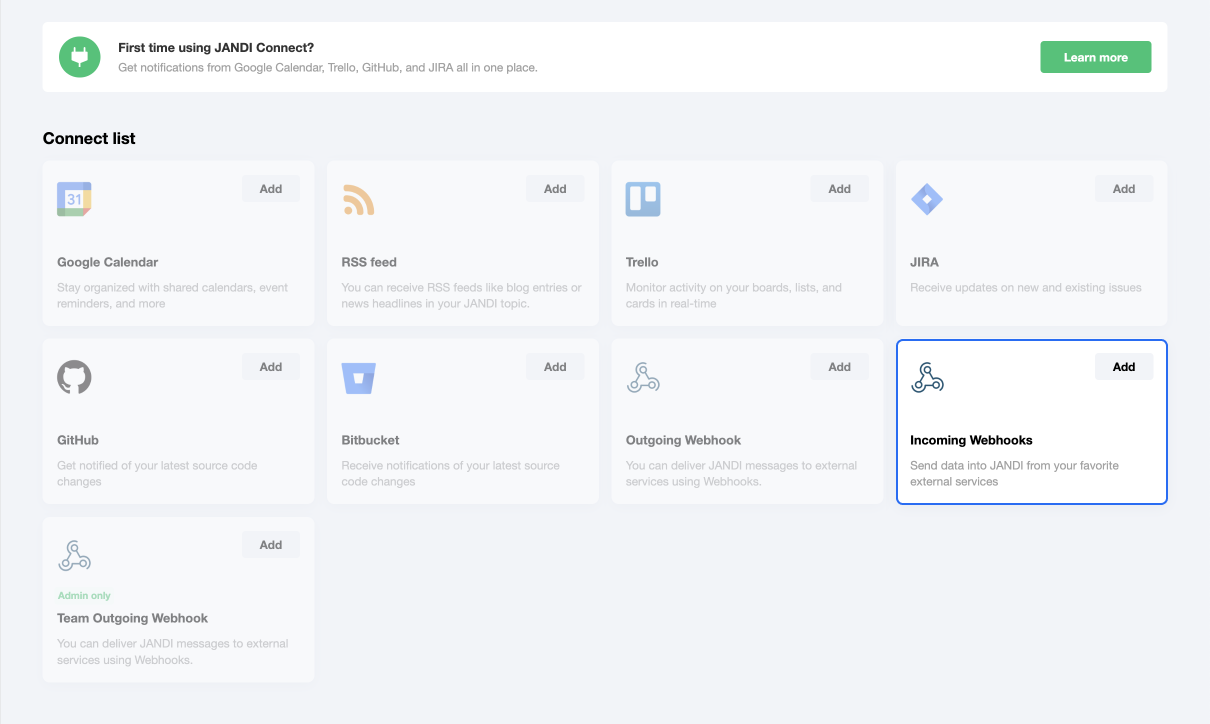
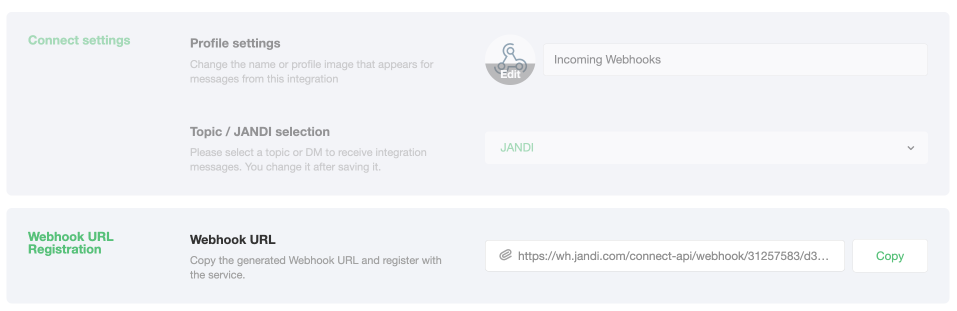
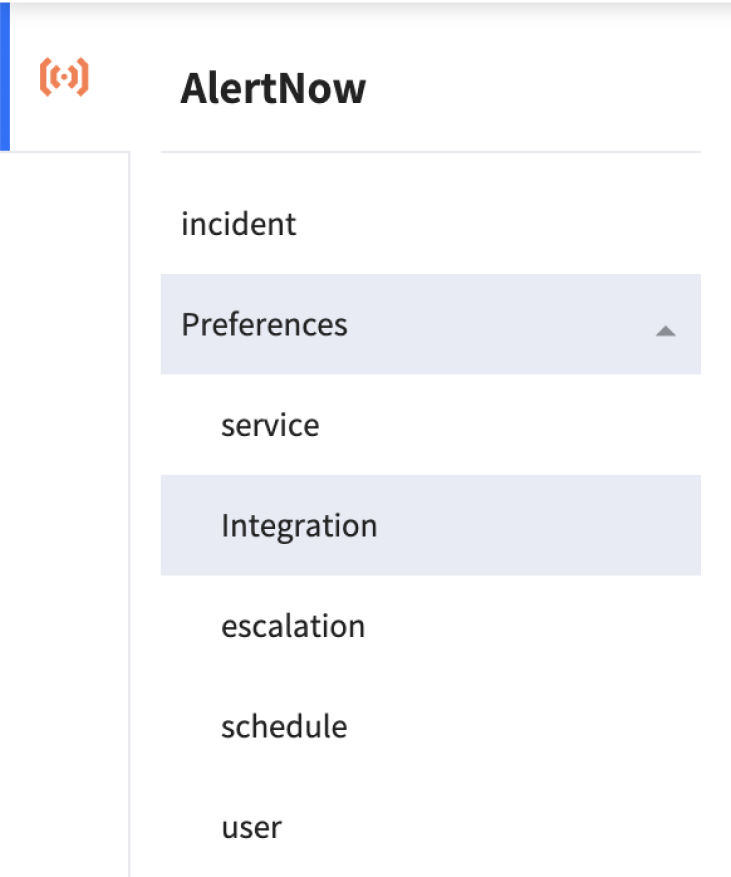
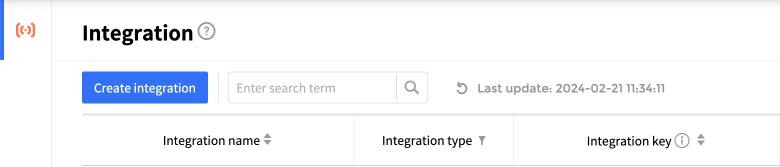
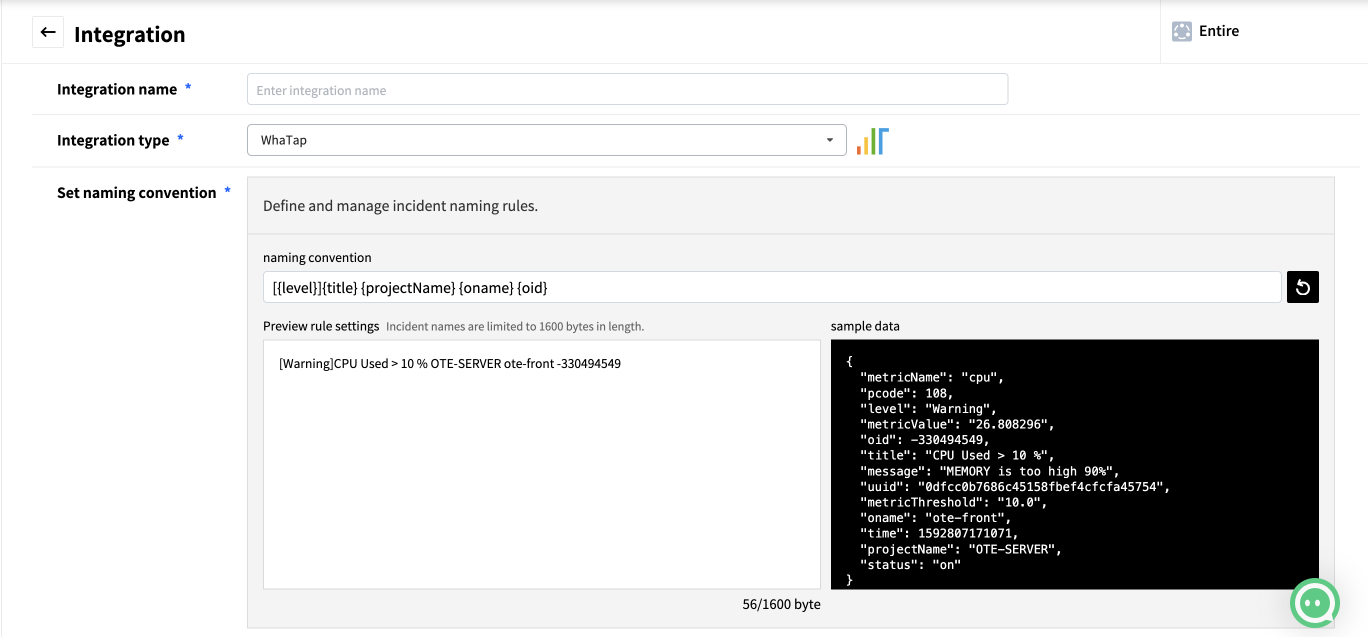
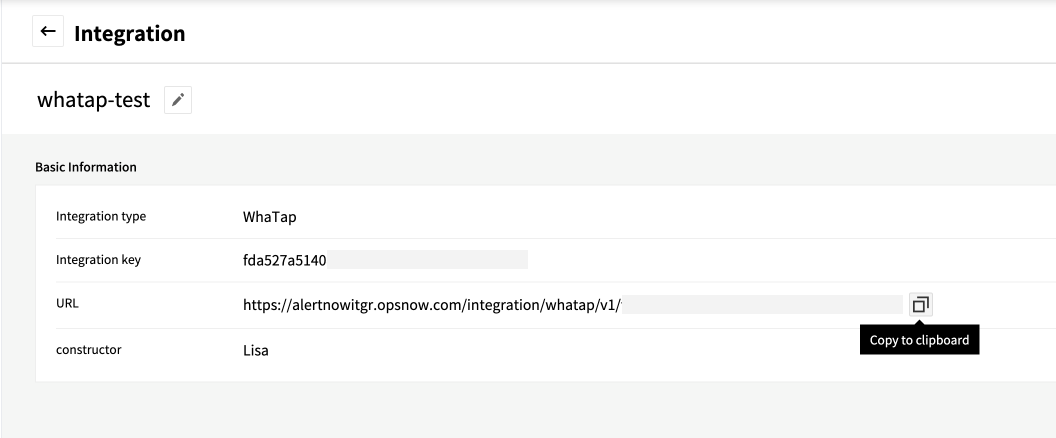
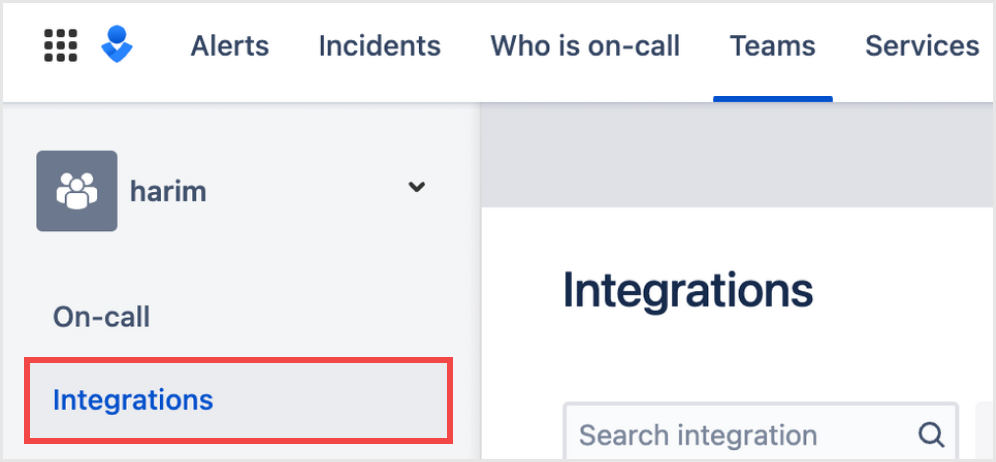
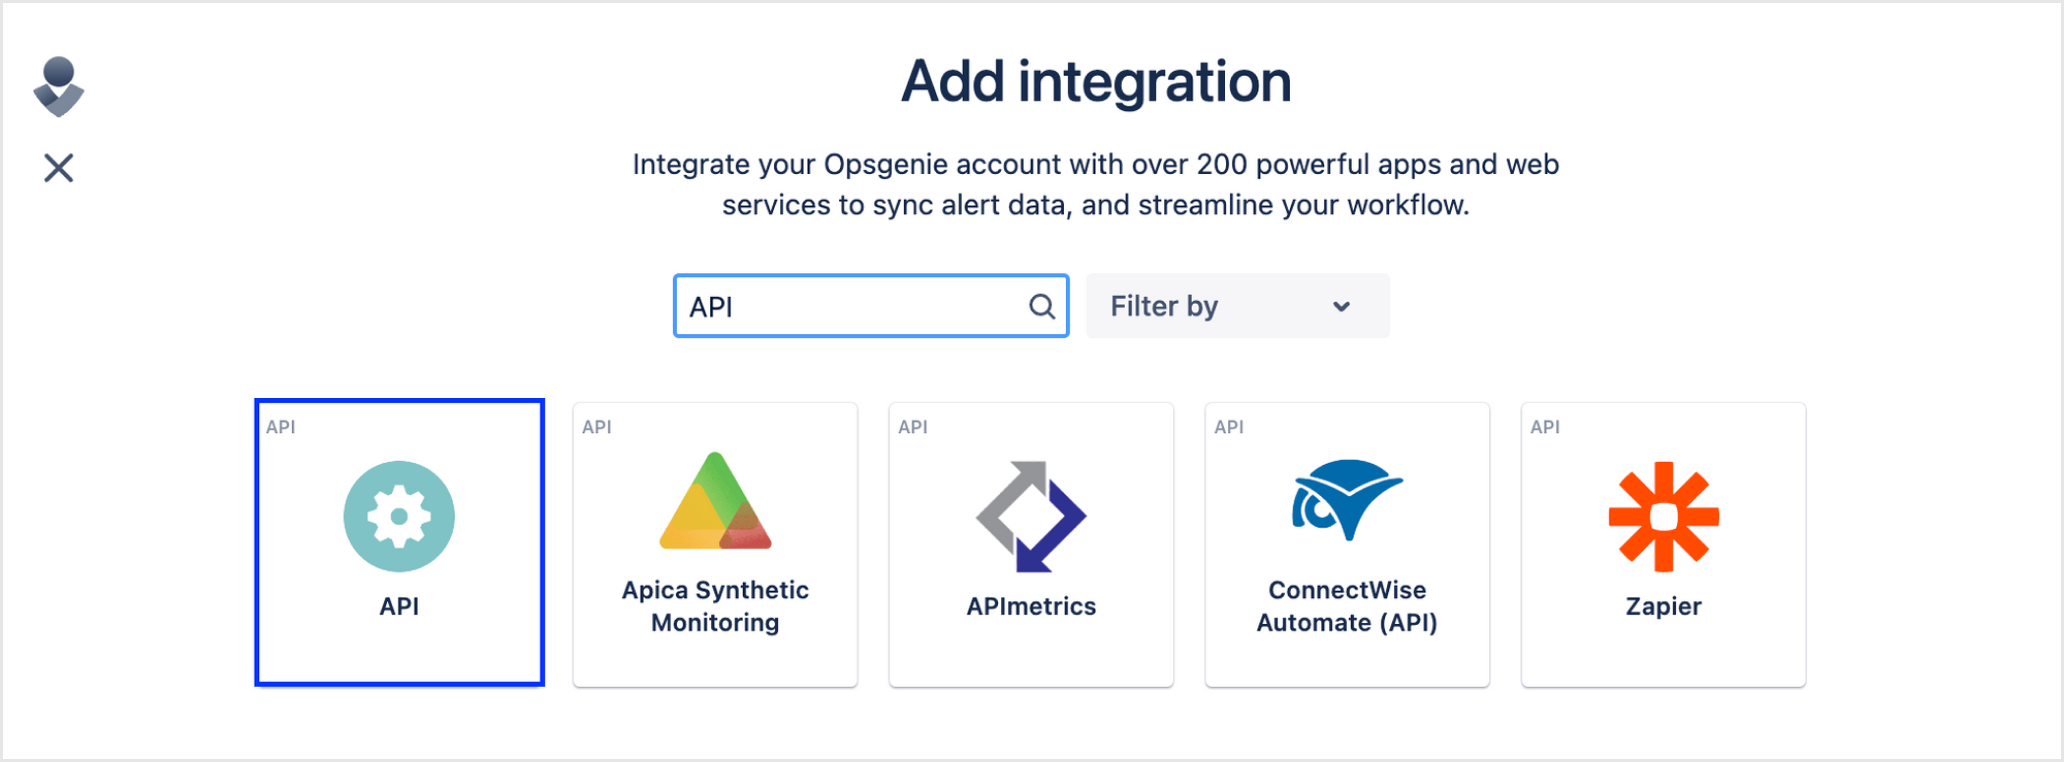
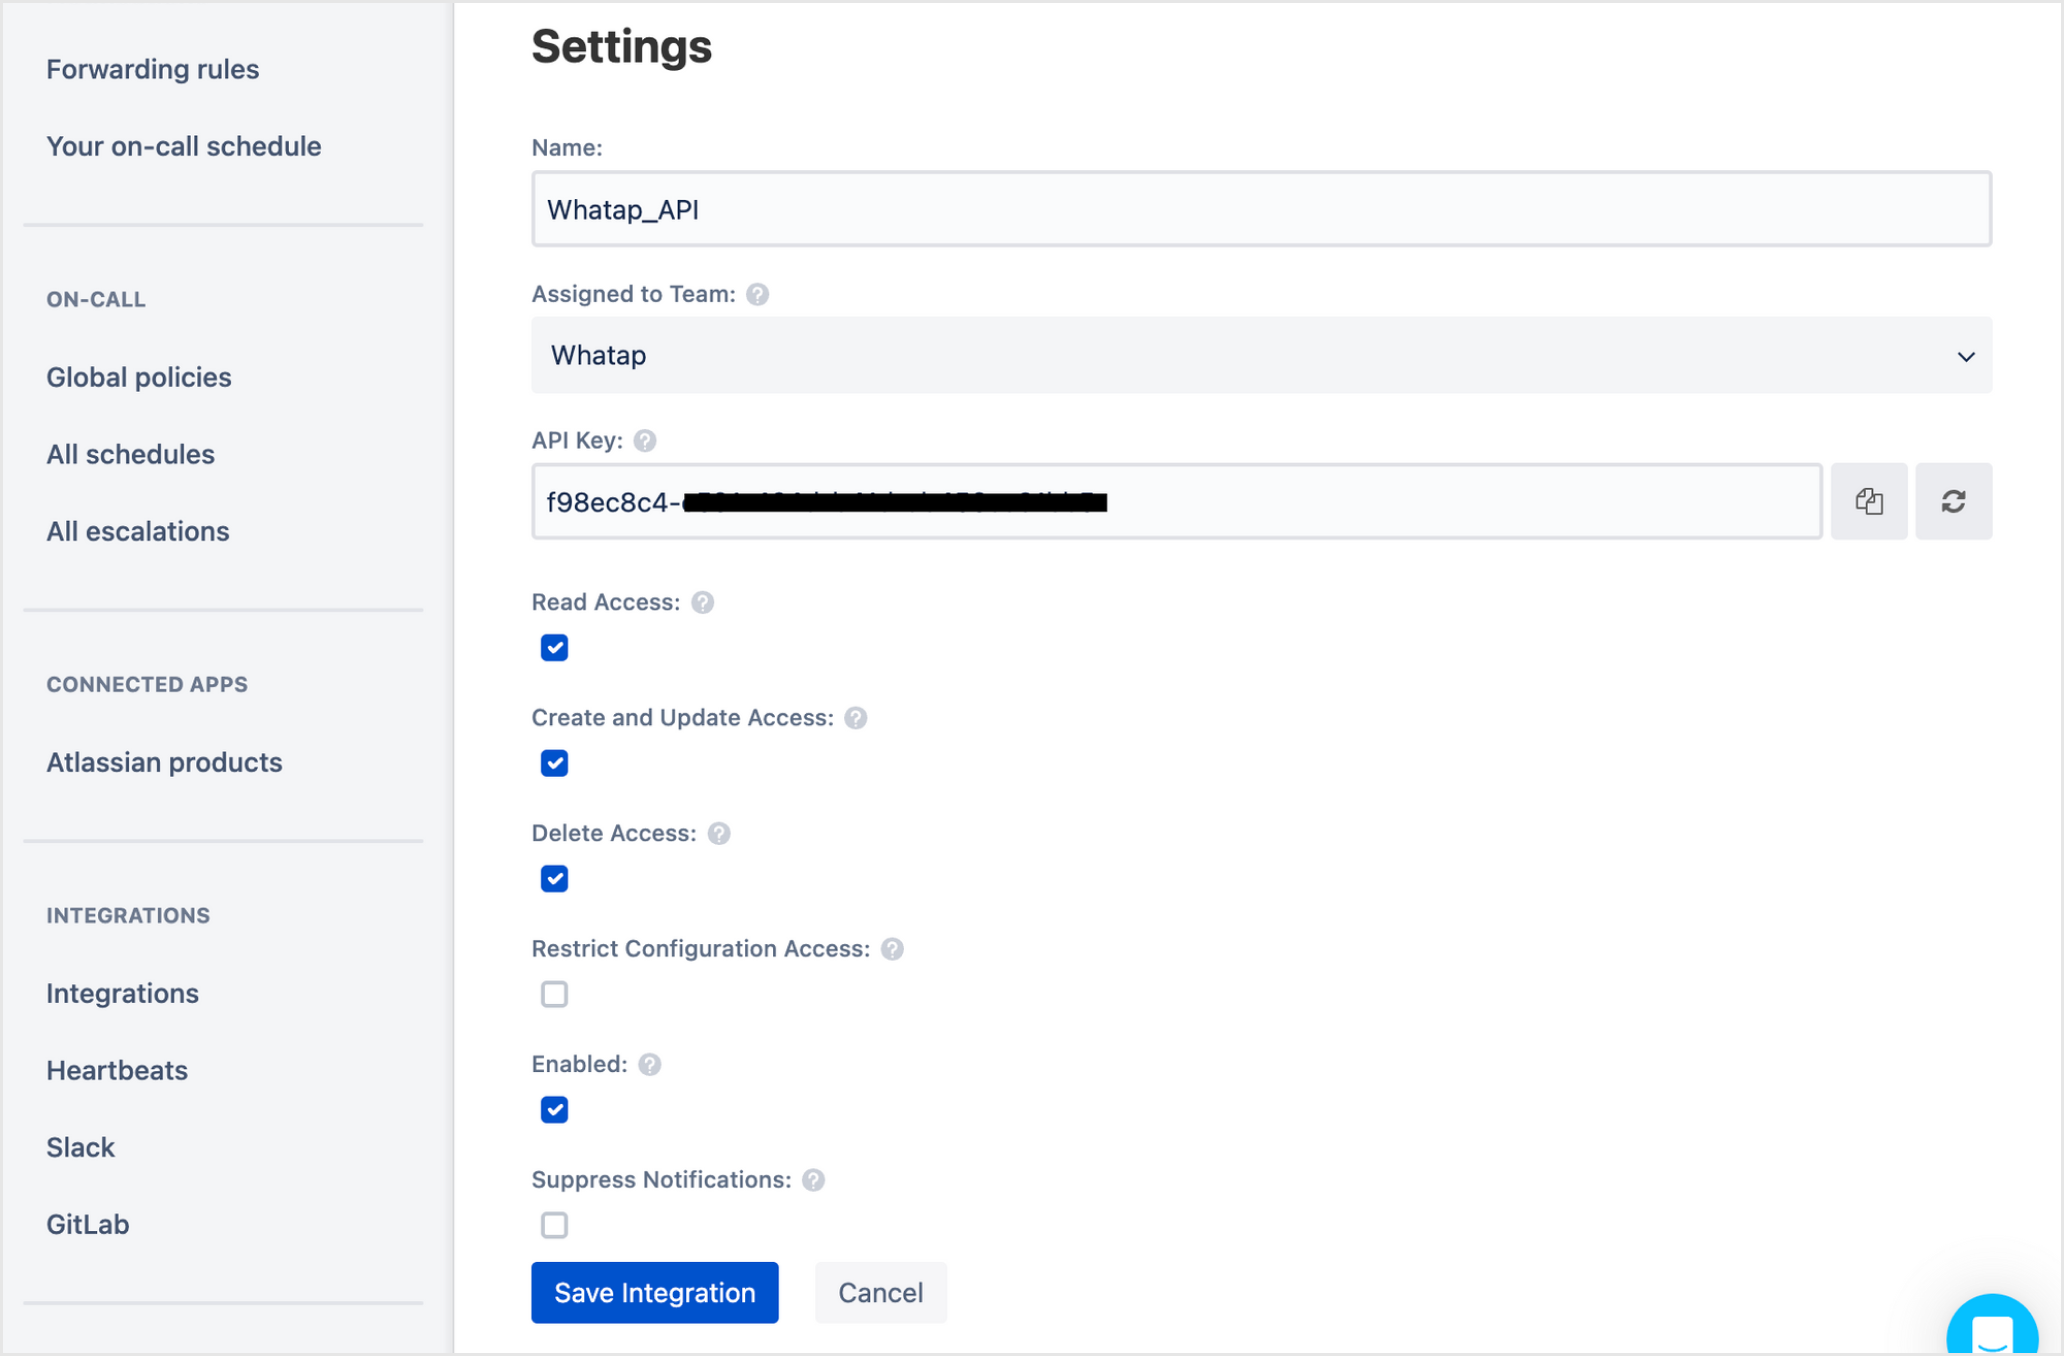
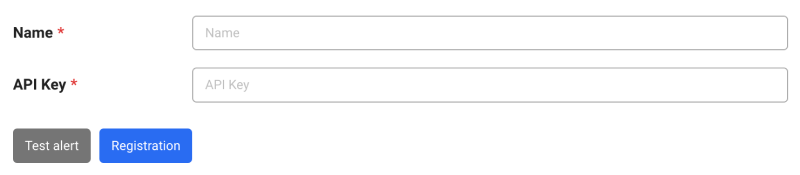
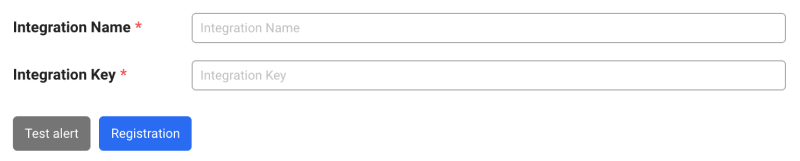
Check the following list of 3rd party plug-ins for the methods to add alerts that are appropriate for your application. You can register WhaTapNotiBot to the desired teams and channels in Slack by clicking Add To Slack at the bottom of the screen. In Telegram, search for @WhaTapApmNotiBot. Enter the access key for the project to be notified in the chat window. The following lists available commands. Go to the Connector settings for the channels to receive alerts for. Add a Webhook, click Configure, and proceed to the next step. Enter the Webhook name and then click Create. Copy the generated Webhook URL. Go back to the Add a third-party plug-in screen of the WhaTap monitoring service and enter the Channel Name and Webhook URL. Select Registration. To use workflows, you need an account with access to Microsoft Teams and a business plan subscription. In the Team menu, select the More (...) button and then click Add Channel. Enter a channel name and description and then select Standard as the channel type. If you select Shared as the channel type, you cannot use workflows. If you select Private, you can add workflows but cannot receive notifications. In the created channel, select the More (...) button and then click Workflow. In the list of workflows of the Workflow dialog box, select Post to channel when a webhook request is received, and then click Add Workflow. Check the name and connection status and then click Next. Check the detailed information and then click Add Workflow. After workflow addition is completed, copy the created address. Go back to the Add a third-party plug-in screen of the WhaTap monitoring service and enter the Channel Name and Webhook URL. Select Registration. Go to the Jandi Connect settings in the topic or Chat to receive alerts. In the Incoming Webhook of Connect list, select Integrate. In the Integrate tab, select Add integration. Copy the Webhook URL in Register Webhook URL. Go back to the Add a third-party plug-in screen of the WhaTap monitoring service and enter the Channel Name and Webhook URL. Select Registration. Access the AlertNow service and then go to Integration. In Integration, select Create Integration. Select WhaTap among the integration types. Set the name and naming rules on the Integration screen. Select OK to create the integration. Check the list of created integrations and then select the created integration. On the details screen, select the Copy button to the right of URL for copying. Go back to the Add a third-party plug-in screen of the WhaTap monitoring service and enter the Channel Name and Webhook URL. Select Registration. Register a webhook to receive alerts. The Enter values for Webhook Name and Webhook URL. Select Registration. Register a webhook to receive alerts. The notification data is sent to the registered URL in JSON format by using the POST method. Enter values for Webhook Name and Webhook URL. Select Registration. Event status ( The To add the header values, select Add user header value. In Teams, select a team to receive alerts for and then click Integrations. Select Add Integration. Search for 'API' in the Integration list and then select it. Assign an API name and a team, and then set roles for each. Select Save Integration. Go back to Add a third-party plug-in of the WhaTap monitoring service and then enter values for Name and API Key. Select Registration. Check that you have registered and logged in to the PagerDuty account. In PagerDuty, go to Services > Service Directory, and then select New Service. Enter the service information and then click Next. Set the Escalation Policy and then select Next. Set the values for Alert Grouping and Transient Alerts, and then select Next. In Integrations, select Event API V2 and then click Create Service. Copy the values for Integration Name and Integration Key on the created service screen. Go back to the Add a third-party plug-in screen of the WhaTap monitoring service and enter the Integration Name and Integration Key. If the message has not been received or the plugin has not been registered, check that the Integration Name or Integration Key value is correct.Slack
Telegram


/help: Listing commands/license: Enter the access key for the project to be notified of./remove: Enter the project code for which you do not want to receive alerts./list: It displays the project code that is receiving alerts.Teams
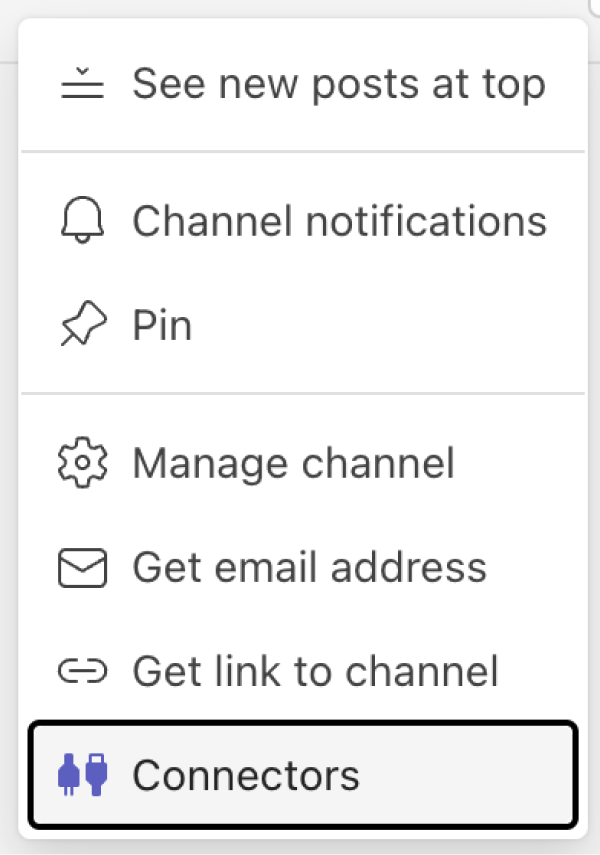

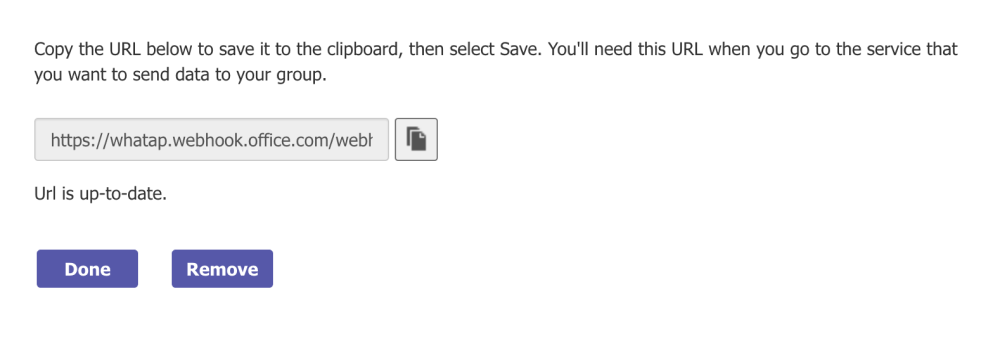
Teams Workflows
Jandi
AlertNow


Webhook
title and text of the alert are sent to the registered URL by using the POST method.
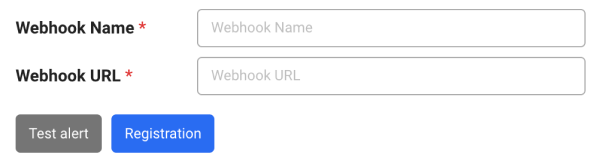
Webhook JSON
{
    "pcode": 1234,
    "projectName": "Sample project",
    "time": 1577840400000,
    "oid": 1234567890,
    "oname": "WAS-01", // Optional
    "title": "Alert Title",
    "message": "Sample warning message",
    "level": "Warning",
    "status": "on",
    "metricName": "cpu", // Optional
    "metricValue": "99.99", // Optional
    "metricThreshold": "90", // Optional
    "uuid": "ba5db108b788475c95195***********",
    "okind": "WAS-okind-01", // Optional
    "onode": "WAS-onode-01", // Optional
}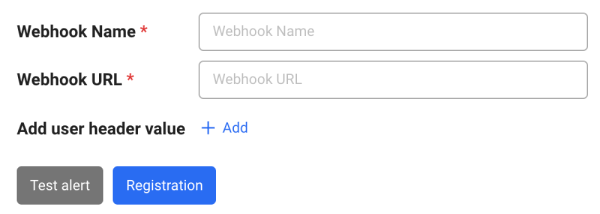
status) can be divided into event occurrence (on) and event resolution (off).level is divided into None, Info, Warning, and Critical.Opsgenie

PagerDuty


Receiving AI notifications Beta
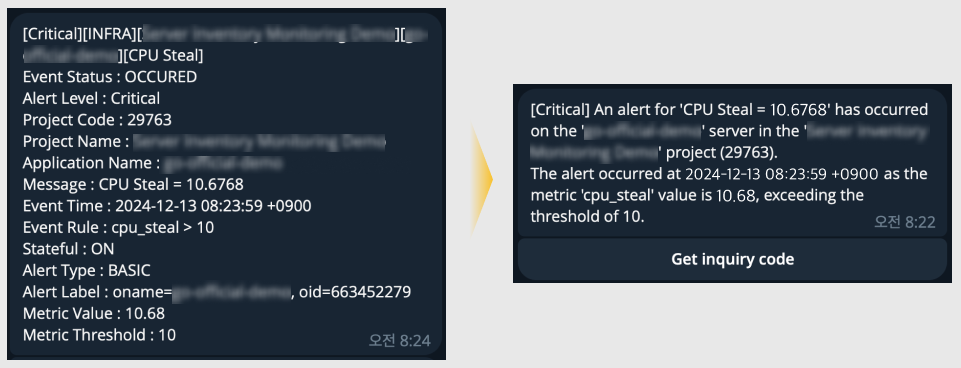
If you added a 3rd party plugin as a notification method via Telegram, you can use the AI notification feature. The AI notification feature provides monitoring notifications in a more concise and understandable manner, helping users quickly identify and respond to issues.

In Telegram of the 3rd party plugin section, select the Get AI notifications option. By enabling the Get AI notifications option, you can receive notifications from Telegram in the following summarized form:
-
You can select your preferred language. The supported languages are Korean, English, and Japanese.
-
In the Application and Server products, you can ask questions related to the notification by clicking Get query code. This feature is scheduled to be expanded to other products.
-
The AI notification feature is currently in Beta and may not provide perfect answers.
Avoiding a large number of alerts
When numerous alerts occur, it temporarily stops notifying alerts for a set period. In Alert > Notifications, go to the Avoids a large number of alerts section.
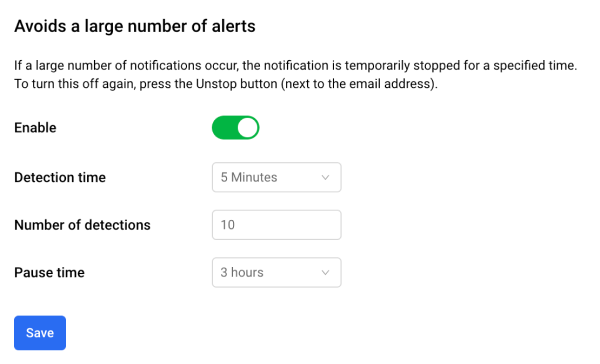
- Select the Enable toggle button to enable or disable the function.
- If the events occur more than Number of detections during Detection time, it stops alert notification for Pause time.
For example, alert notification stops for 5 minutes when 20 events occur within 5 minutes. If the set Pause time elapses, the Avoids a large number of alerts function is disabled.
If the number of text notifications exceeds 200 per day, the notification is paused and the following message appears. To disable text notification, select Unblock SMS.

Setting the alert user
In Manage Accounts, you can configure the settings for user's individual notification level, reception method, day of the week, and time.
-
Select the profile icon on the upper right of the screen.
-
If a pop-up menu appears, select Manage Accounts.
-
Scroll down the screen, go to the Alert notification setting section.
-
Set the reception level, reception method, day of the week, and time, and then select Save.
Setting the alert language
You can change the language for alert messages that occur in the project.
-
In Home screen, select a project to change the language for alert messages.
-
In the menu on the left of the screen, select Management > Project management.
-
In the Managing notification languages section, select a desired language.
-
Select Save on the lower right of the screen.