Node.js
To collect logs by your Node.js application, check the following.
Agent Update
It is available from Node.js agent 0.5.1. For more information about the update, see the following.
Checking the agent settings
Home > Select Project > Log > Log Setting
Select a project in the initial screen of the WhaTap monitoring service, and then select Log > Log Setting under Project Menu. Proceed with the process according to the instructions in the Check agent settings tab of the Getting started with log monitoring section.
-
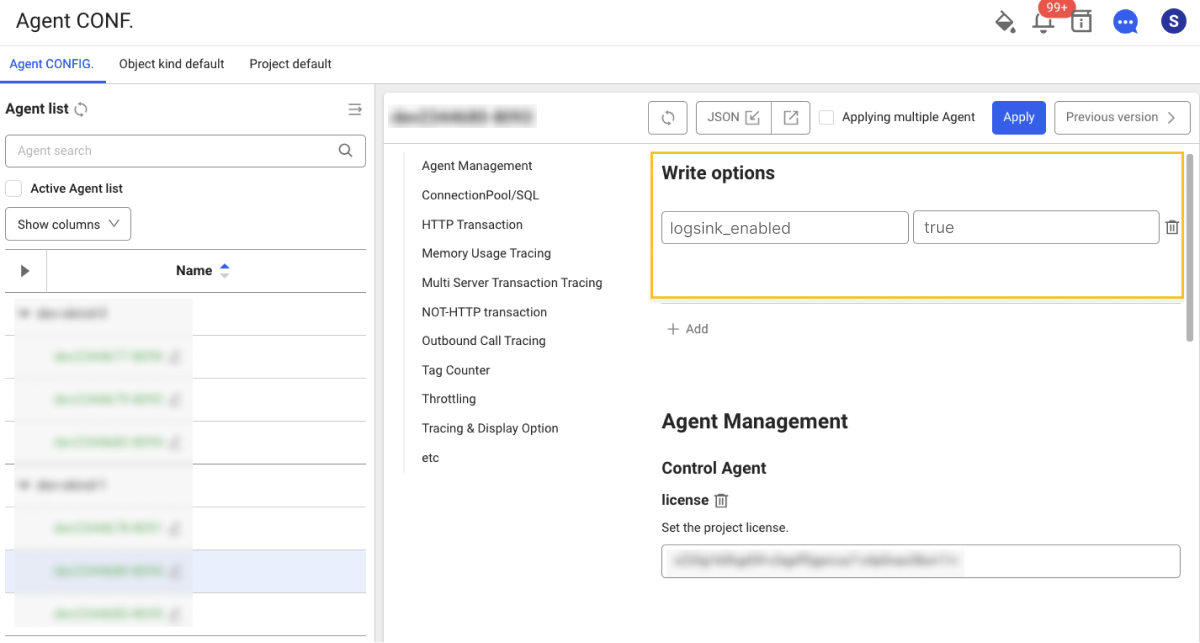
Under Project Menu, select Management > Agent CONFIG..
-
In Write options, select Direct Input. Add the
logsink_enabled=trueoption to the input field as follows:
-
Restart the application to apply the log monitoring.
Key options
-
logsink_enabled Boolean
Default
falseSet whether or not to enable the log monitoring.
-
logsink_trace_txid_enabled Boolean
Default
trueSet whether or not to expose the log tab of the transaction trace by inserting the transaction ID into the logs.
-
logsink_limit_content_enabled Boolean
Default
trueSet whether or not to limit the maximum size for log messages.
-
logsink_limit_content_length Number
Default
10,000Set the maximum length of the log message. This value is applied only when the
logsink_limit_content_enabledoption is set totrue.
Enabling the log monitoring
Home > Select Project > Log > Log Setting
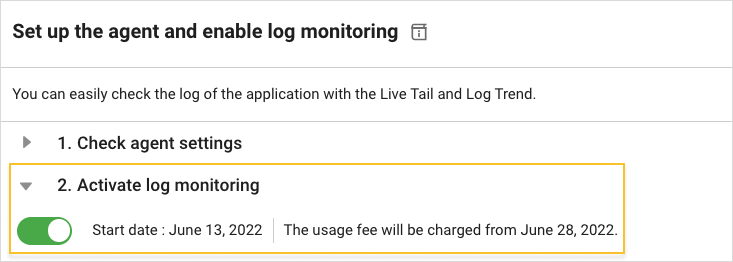
You can enable or disable the WhaTap log monitoring with the toggle button in the Activate log monitoring tab of the Starting the log monitoring section.

- If you turn on
, the log monitoring is enabled. You can try for free for 15 days from the activation date.
- If you turn off
, the log monitoring is disabled. Logs are no longer saved.
Role
After agent installation, you can enable the log monitoring settings only when you have the edit permission on the project. For more information about the roles, see the following.