Namespace Management
Home > Select Project > Management > Namespace Management
You can manage namespace projects through the Namespace Management menu in the cluster project(CP). In a namespace project, you cannot enter the menu.
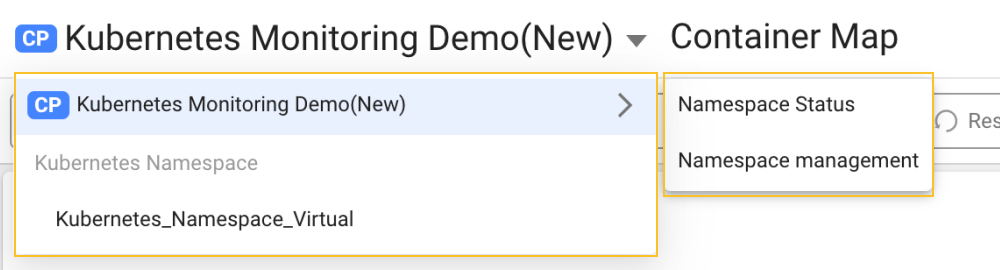
A list box is provided to move to any sub-namespace, or Namespace Status and Namespace management in Dashboard > Container Map of the cluster project.
Managing a namespace project
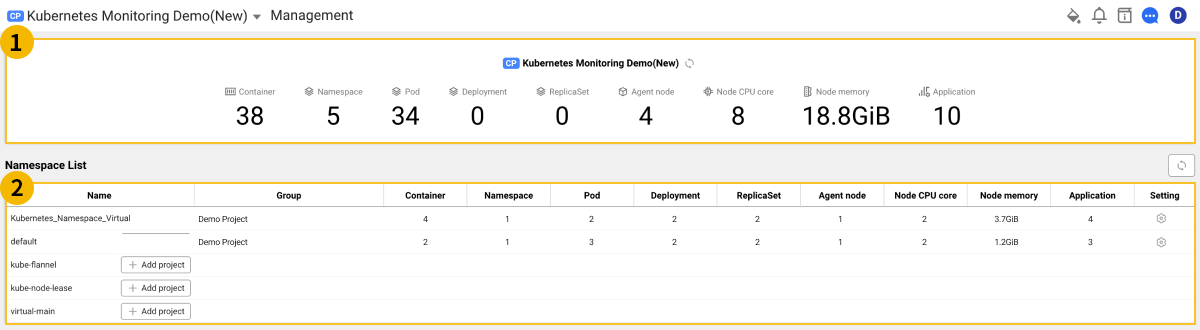
In the ![]() area at the top, you can see the total number of targets and the number of key resources. In the
area at the top, you can see the total number of targets and the number of key resources. In the ![]() Namespace List area, you can search, add, and delete namespace projects.
Namespace List area, you can search, add, and delete namespace projects.
Creating a namespace project
In Namespace List, select + Add Project for the item to create a project for. When the Add Project window appears, select OK.
Cautions
When you add a namespace project, the namespace is separated from the cluster project (CP) into a separate WhaTap project. The added namespace project is given a new project access key.
If the application monitoring has been installed in a separate namespace, you have to change the project access key in the application monitoring settings to the project access key of the newly added namespace project.
Deleting a namespace project
-
Select
 Configuration to the utmost right of the project to delete in the Namespace List.
 -
Go to Project Management.
-
Select Delete Project on the upper right of the screen.
If a namespace project is deleted, the user list and the collected data are all deleted. Note that the deleted data cannot be restored.
For more information about the project management, see the following.