Configuration
The Whatap agent writes the necessary settings for each agent in whatap.conf. The agent locates and loads the configuration file through the environment variables. For user convenience, the WhaTap Monitoring Service also provides the agent configuration function.
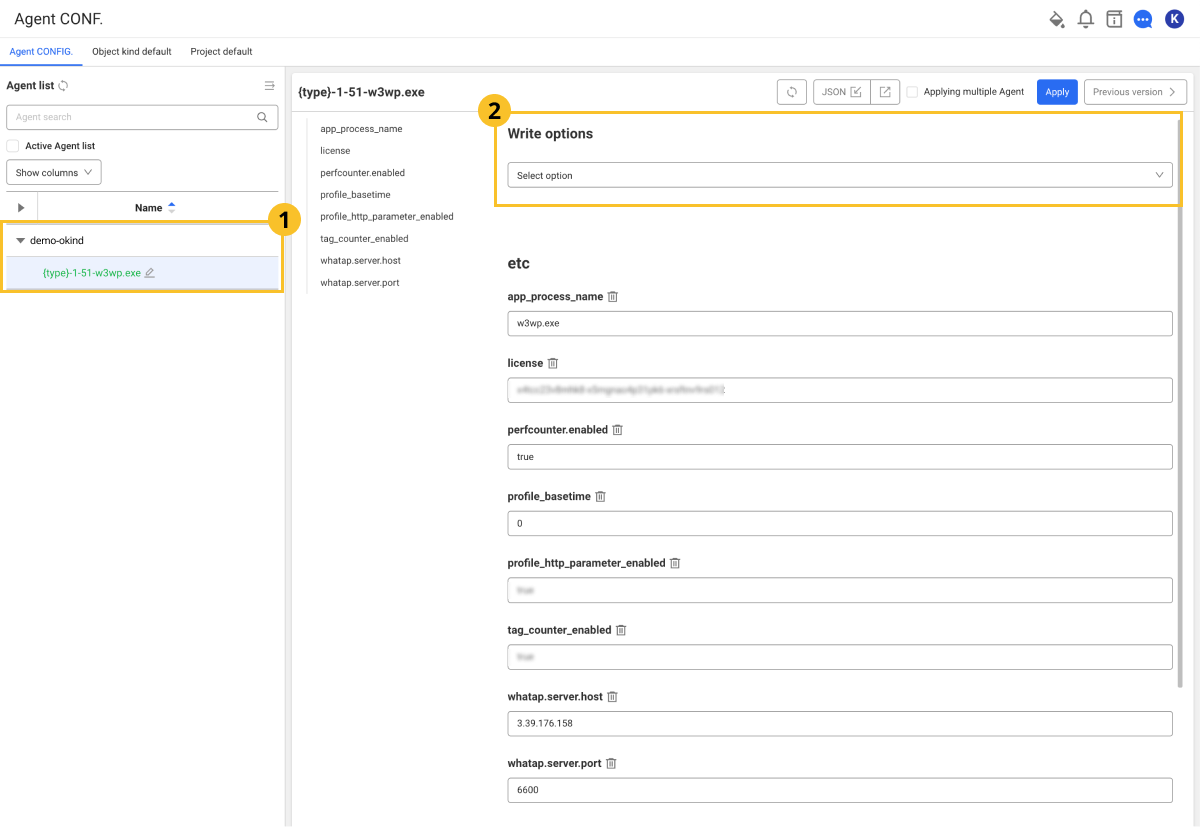
Configuring the agent on the service screen
Home > Select Project > Management > Agent CONF.
You can add, modify, or delete agent configuration options in the Whatap Monitoring Service without directly modifying the whatap.conf file that is in the monitoring target server. You can also click Download configuration file to download the whatap.conf file.
-
This function is only available to the members with Edit role. The members without Edit role can only view the settings.
-
You can set the options in the following format.
- Select
trueorfalsefor a boolean value. - For numeric values, you can enter only number.
- When entering or modifying a text (string) value, check the option description in detail.
- Select
-
You cannot select any option that is not editable. (e.g.
license) -
You may restart each agent depending on the option that has been added, modified, or deleted.
-
The option keys that can be applied may differ depending on the application type and agent version.
Adding options
-
In Agent List, select the
 agent to add options to.
 -
In
 Write options, select options to add.
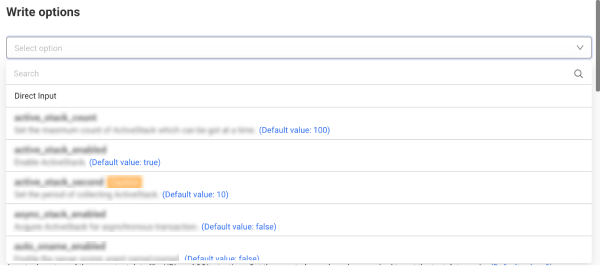
- You can find options to add in Search. Enter text to filter matching options.
- If you select Direct Input, you can enter the option keys and values.
-
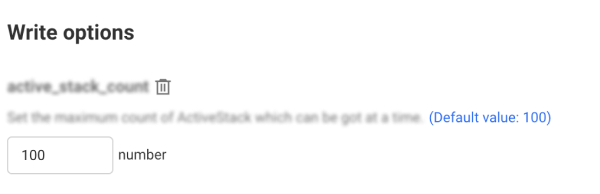
Check the description and default value of the selected option key, and then enter the setting.
- To cancel the selected option, select
 .
. - To add new options, select Add and then repeat Step 2.
- To cancel the selected option, select
-
After adding the desired options, select Apply on the upper right of the screen.
Apply the selected options and settings to agents.
- To initialize the content in modification, select
 on the upper right of the screen.
 - If you select Apply without entering options, the options are deleted.
- The added options cannot be selected in the option list.
- The option keys that can be applied may differ depending on the application type and agent version.
- The example images may differ depending on the application type and agent version.
Modifying or deleting options
-
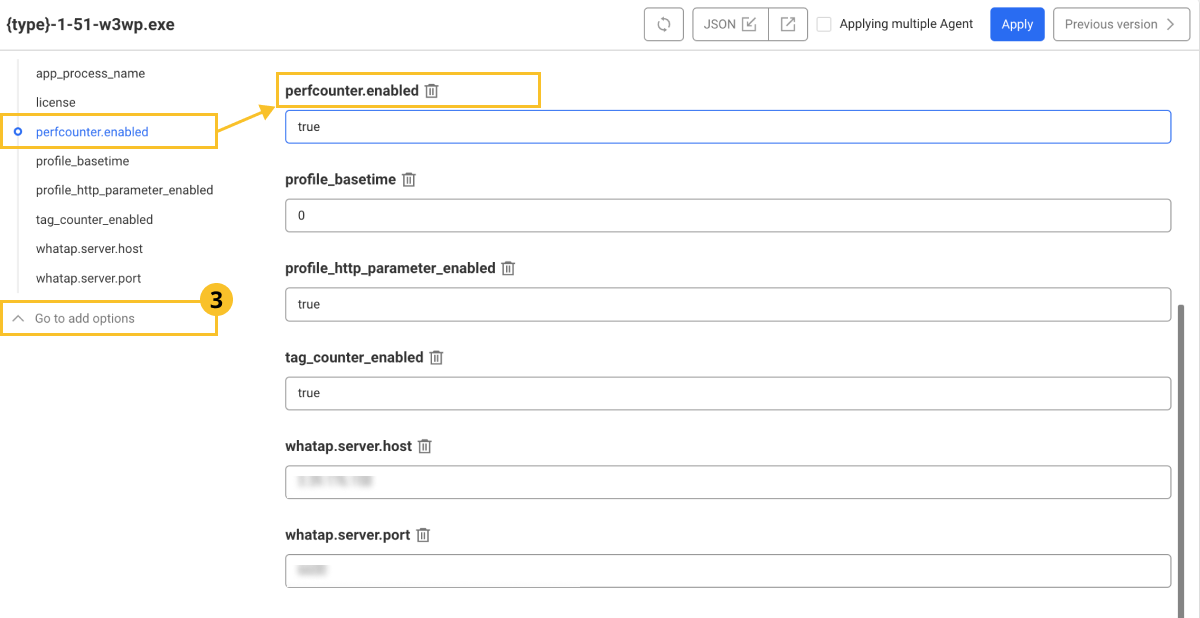
Scroll up or down the screen, or select a desired option to edit or delete from the option list on the left.
-
Select or edit the desired value for the option to change. To delete an option, select
. -
Select Apply to apply your changes.
-
If you want to move to the top of the screen, select
 Go to add options.
 -
If you select Apply without entering options, the options are deleted.
Applying to multiple agents simultaneously
Changed options can be applied simultaneously to multiple agents that belong to a project.
-
If you check Applying multiple Agent on the upper right of the screen, checkboxes are created for each option.
-
Select the checkboxes of the options you want to apply simultaneously. You can select multiple items.
-
On the upper right of the screen, select Apply.
-
If the Applying Agent window appears, select an agent to apply the changed options to. To select all, select Select all.
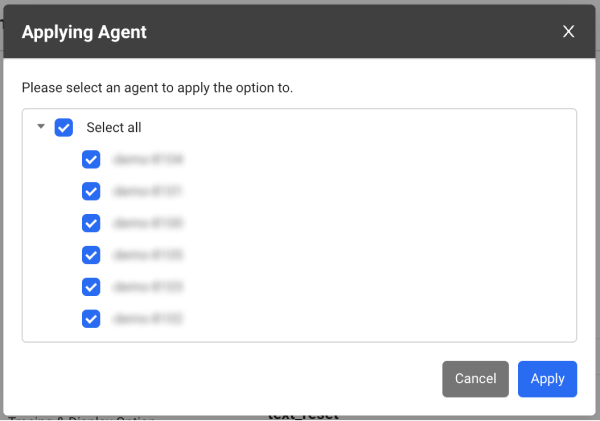
-
Select Apply.
Setting the default values of the agent
To avoid the hassle of repeatedly applying the settings when adding a new agent to a project, you can create and apply default settings for each project and task.
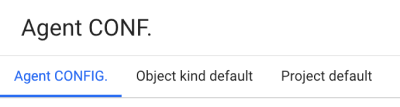
Object kind default: In the whatap.conf file, the options can be commonly applied to the agents classified as
whatap.okind, and the applied options can be checked.Project default: The options can be commonly applied to all agents belonging to the project, and the applied options can be checked.
-
If you select Object kind default or Project default tab and then apply the options, it is useful to commonly manage agents.
-
The application order of options is as follows: Object kind default, Project default, and Agent CONFIG..
- If the value of option b is 1000 in Project default and it is 2000 in Object kind default, the option value set in Object kind default, 2000 takes precedence.
- If the value of option b is null in Project default and it is 2000 in Object kind default, the option value set in Object kind default takes precedence.
Sharing the agent settings
Agent settings can be saved as a json file, and the file can be loaded and applied to other agents.
-
In the Agent list, select an agent to export the settings to a json file.
-
On the upper right of the screen, select
 .
. -
Download the json file.
-
In Agent list, select other agents.
-
On the upper right of the screen, select
 .
.
Check the agent settings fetched from the json file.
Guide to the agent configuration options
The following links provide descriptions of the options that can be set. The following explains how to set the agent name in order to identify the monitoring target. The .NET application server's functions can be controlled. It describes the connection settings between the agent and the server. This option is for the agent performance. The options of the agent log can be set. The agent traces the transaction performance and provides the following configurable options. It provides the DB and SQL related options of the .NET agent. It provides the HTTPC and API call related options of the .NET agent. It aggregates the numbers of real-time users connected to WAS. The following options are related to the statistics collection for the data collected by the agent. This option creates the topology map by using the data collected by the agents. You can trace WCF or web services in the .NET application servers.Agent name identification
Control of agent functions
Agent communication settings
Agent performance
Agent Log
Transactions
DB, SQL
HTTPC, API Call
User count
Statistic
Topology map
WCF and Web Service monitoring configuration