Agent Installation
To use the WhaTap monitoring service, after Sign up, create a project and then install the agent to the target server.
Creating a project
Create a project before installing the agent.
-
Log in WhaTap monitoring service.
-
To create a project, on the left of the screen, select All Projects > + Project.
-
Select a product in Select product for installation.
-
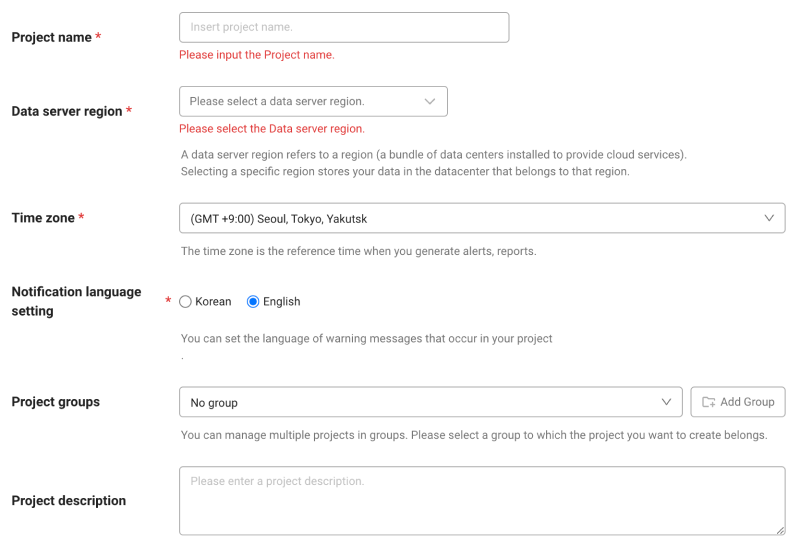
Configure the settings for Project name, Data server region, and Time zone.

-
In Notification language setting, select the language for alert messages.
-
After all settings are finished, select Creating a project.
-
A Data server region refers to a region (a bundle of data centers installed to provide cloud services). Selecting a specific region stores your data in the datacenter that belongs to that region.
-
Time zone is the reference time for generating alerts and reports.
-
To group multiple projects for management, select a group from Project groups or add a group. For more information about grouping, see the following.
-
To add a project with an organization selected, Groups of organization must be set.
Checking the access key
The access key is the unique ID to enable the WhaTap service.
In the installation guide section, select Getting the access key. After the access key has been issued automatically, proceed to the next step.
After a project has been created, the Agent installation page appears automatically. If the Agent installation does not appear, select Management > Agent installation on the left of the screen.
Download agent
Once you have received a access key, the Download button is enabled in the Agent File Download section. Select EXE Download or ZIP Download to download the agent installation file.
-
The .zip file is also provided for the users who cannot accept .exe files due to security issues.
-
For server security, it is recommended to run the downloaded installation file rather than installing through the browser.
Installing the agent
-
Double-click the downloaded installation file to run it.
-
According to the on-screen instructions, enter the access key in License Key and the WhaTap server IP in WhatTap IP.
You can copy the access key and WhaTap server IP values from the project creation screen of the WhaTap Monitoring Service.

-
Click Next.
-
In the following screen, click Install. Proceed with the installation.
-
Click Finish to finish the installation.
The agent consists of the tracers to collect monitoring information and the files to transmit the collected information to the server. For more information about the agent files, see the following.
Starting the monitoring
Once the application server has been restarted, the agent starts collecting data.
For more information about the agent update, see the following.